
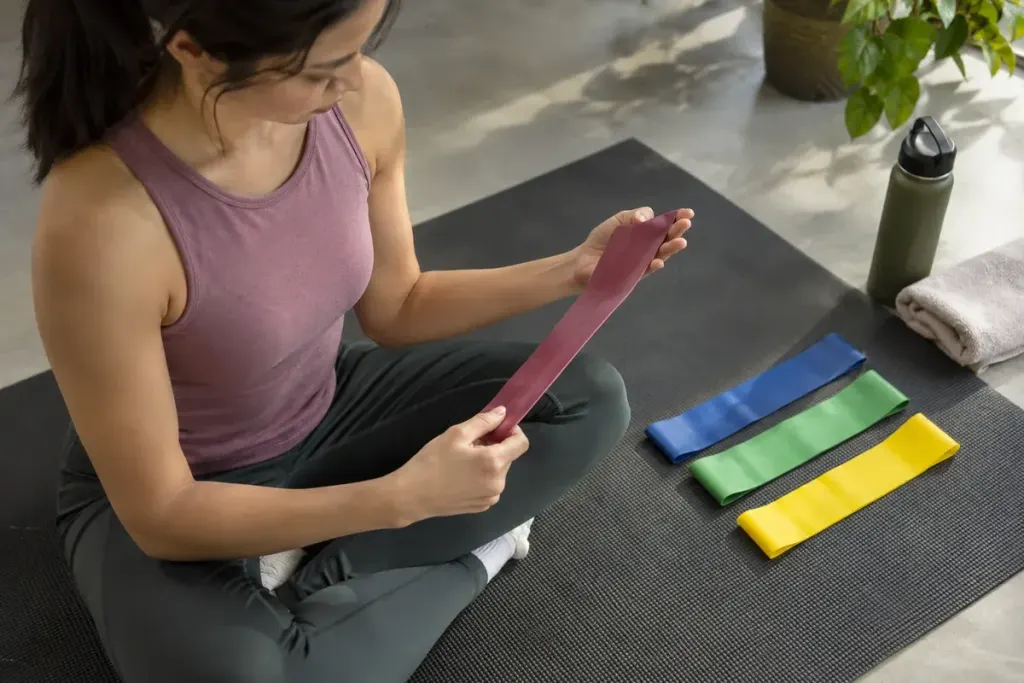
A resistance band folds into a small bag, which makes it easy to forget that its condition matters. A nick, damaged attachment or unsuitable anchor can turn a familiar movement into an uncontrolled release.
Inspect it while relaxed
For a product-specific example, THERABAND kit instructions describe inspection and replacement precautions. Use the instructions for your own equipment rather than transferring another brand’s limits.
Check the manufacturer’s instructions for the band and any accessories. With the band unloaded, look for cuts, tears, cracks, thinning, damaged stitching or changes in the connectors. Follow its replacement guidance; do not stretch a visibly damaged band to see whether it “still holds.”
Check the intended anchor as a separate item. Furniture, door fittings and sharp edges are not automatically suitable attachment points. Use only an arrangement designed for the exercise and permitted by the equipment instructions, with appropriate professional guidance if you are unsure.
Keep the first movement controlled
Choose a resistance and range you can manage without losing position. A stronger colour does not represent the same resistance across every brand. Do not compare bands by colour alone or exceed the stated stretching limits.
Leave enough clear space for the movement and keep the band away from the face when following the exercise setup. Stop if the equipment shifts unexpectedly or the movement causes pain. People with injuries or relevant health conditions should get individual advice before using a new exercise.
Afterwards, clean and store the band according to its instructions, away from conditions that the manufacturer warns against. Keep it separate from sharp items in a gym bag. Note when you first used it if that helps follow an inspection or replacement schedule.
A quick condition check is not a guarantee against failure. It is a practical chance to catch a visible problem before the band is loaded and your attention is on completing a repetition.